How to Prepare Artwork for DTF Printing | DTFBuild
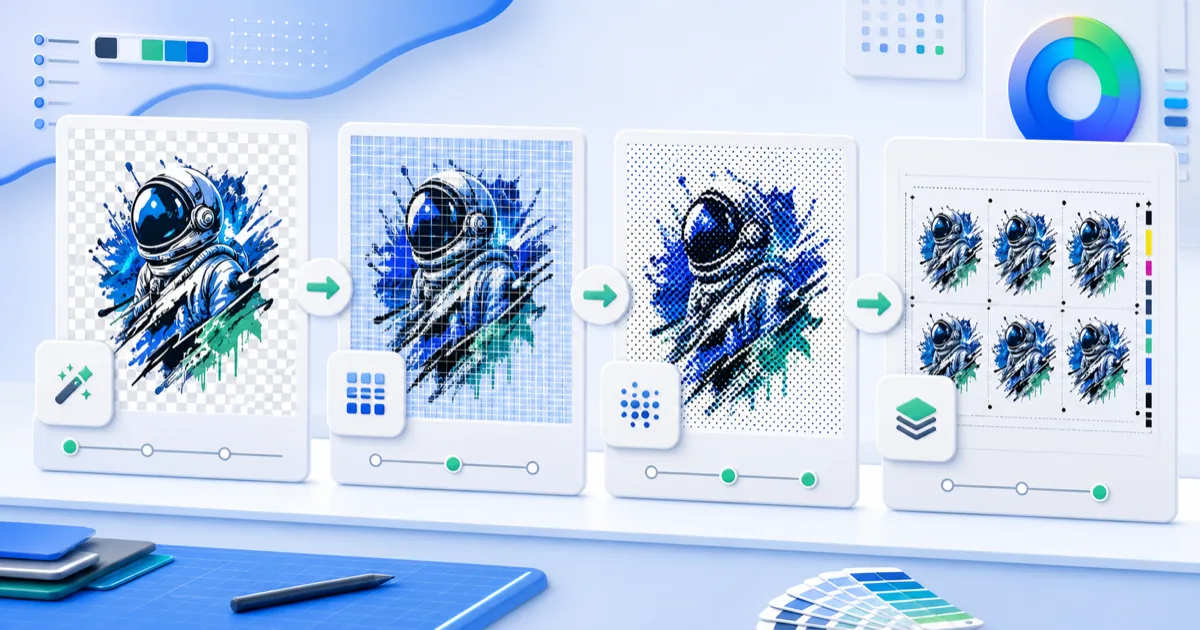
Quick Answer: How Should You Prepare Artwork for DTF Printing?
To prepare artwork for DTF printing, size it at the final print dimensions, provide enough pixels for the printer's requested resolution, remove unwanted backgrounds, preserve transparency in a PNG, inspect fine details, and export without changing the aspect ratio. A common target is 300 pixels per inch at final size, but your print provider's specification always wins.
This guide is for print shops, apparel decorators, and sellers who need a repeatable way to turn customer artwork into a print-ready file.
DTF Artwork Requirements at a Glance
| Check | Practical target | Why it matters |
|---|---|---|
| File format | Transparent PNG when transparency is needed | JPEG cannot preserve transparent pixels |
| Resolution | Often 300 PPI at final size | Prevents accidental enlargement of too few pixels |
| Color | Follow the RIP or print provider's workflow | The RIP and ICC profile control final output |
| Background | Transparent unless it is part of the design | A white rectangle may otherwise print as ink |
| Fine details | Test the smallest text and lines at real size | Screen previews can hide fragile print details |
| Final dimensions | Set width and height before export | DPI metadata alone does not create detail |
> Key rule: pixel dimensions determine how much image information you have. Changing a file from 72 DPI to 300 DPI without adding pixels does not make it sharper.
Step 1: Decide the Final Print Size
Start with the physical width of the transfer. The pixel calculation is:
required pixels = print size in inches × target PPI
For example, a 10-inch-wide design at 300 PPI needs 3,000 pixels across. A 12-inch design needs 3,600 pixels, and a 4-inch chest logo needs 1,200 pixels.
| Print width | Pixels at 300 PPI |
|---:|---:|
| 3 in | 900 px |
| 4 in | 1,200 px |
| 10 in | 3,000 px |
| 12 in | 3,600 px |
| 14 in | 4,200 px |
These are planning numbers, not a universal printer guarantee. Confirm the required PPI, minimum line weight, and color workflow with the shop producing the transfer.
Step 2: Remove Only the Background You Do Not Want Printed
A transparent checkerboard in an editor means those pixels contain no visible color. That is different from a white background, which is still image content and may receive a white underbase.
Use the DTF Design Editor when the file has a simple solid background. Its contiguous option flood-fills from the outer corners, which can protect matching colors inside closed artwork. Always preview the result over white, black, and gray before downloading.
For hair, smoke, semi-transparent shadows, or complex photography, automated solid-color removal may not be enough. Inspect the alpha edge at 100% and consider a careful mask in a full image editor.
Step 3: Fix Resolution Without Inventing False Detail
If the source is smaller than the pixel target, choose among three options:
1. Use the original vector file for logos, icons, and typography.
2. Re-create the artwork when letters or hard edges must be exact.
3. Upscale a raster image when it already contains usable detail but needs a moderate enlargement.
The Design Editor can upscale artwork up to 4× and preserve transparency. Upscaling can reduce visible pixelation and improve edge continuity, but it cannot recover a missing face, unreadable letters, or detail destroyed by heavy JPEG compression. Read the low-resolution DTF artwork guide before using it on customer files.
Step 4: Decide Whether a Halftone Helps
A halftone turns tonal areas into a dot pattern. In suitable artwork it can open parts of a large solid design, change the visual texture, and create more garment show-through. It is not an automatic “quality” switch.
Use a halftone only after confirming the final print size. Dots that look clear on a monitor may become too small or merge after printing, powdering, curing, and pressing. Start with the editor's Auto setting, download a transparent PNG, and make a real wash-tested press sample. The DTF halftone guide explains the decision in detail.
Step 5: Inspect the File on Multiple Backgrounds
Check the finished artwork over at least four views:
- Transparency checkerboard for the alpha channel
- White for dark edge contamination
- Black for pale halos and missing light details
- A garment-like color close to the production shirt
Zoom to 100% for edge inspection, then view the design at its actual physical size. Both views matter: zoom catches bad pixels; actual size shows whether small elements will be readable.
Step 6: Export and Build the Gang Sheet
Export a PNG when transparency is required. Keep the pixel dimensions and aspect ratio you approved. Then send the prepared files to the free DTF gang sheet builder to set quantities, spacing, sheet width, and auto-arrangement.
The gang sheet builder prepares the layout; your RIP still controls printer-specific work such as the white channel, ink limits, ICC profile, mirroring, and device output. If you are comparing those roles, read the DTF RIP software guide.
Preflight Checklist
- [ ] Final width and height are confirmed.
- [ ] Pixel dimensions meet the printer's requested resolution.
- [ ] The aspect ratio has not been stretched.
- [ ] Unwanted backgrounds are transparent.
- [ ] White artwork has been inspected on a dark preview.
- [ ] Small text and thin lines are readable at final size.
- [ ] Halftones, gradients, and shadows have been test printed.
- [ ] The PNG opens correctly in the RIP workflow.
- [ ] A production sample has been pressed before a large run.
Frequently Asked Questions
What file format is best for DTF printing?
PNG is commonly used when a DTF design needs transparency because it preserves an alpha channel and uses lossless compression. It is not the only format every workflow accepts, so follow your printer or RIP provider's specification. A transparent PNG is safer than a JPEG when the background must not print.
Is 300 DPI required for every DTF file?
Many DTF providers request 300 PPI at final print size, but the real requirement depends on the printer, RIP, artwork, and output size. Use 300 PPI as a planning target, then confirm it. A 3,600-pixel image printed 12 inches wide provides 300 pixels per inch.
Does changing DPI make a low-resolution image sharper?
No. Editing only the DPI metadata changes the relationship between pixels and physical size; it does not add image detail. Sharper output requires enough source pixels, a suitable upscale, or a rebuilt vector/raster original. Always compare pixel dimensions against the intended print width.
Should I use RGB or CMYK for DTF artwork?
Follow the print provider's documented color workflow. Many desktop design workflows submit RGB artwork and let the RIP convert through a printer-specific ICC profile, while other providers request a particular profile or format. Do not convert blindly, because an unmanaged conversion can change saturated colors.
Can DTFBuild replace RIP software?
No. DTFBuild prepares artwork and gang sheet layouts. A DTF RIP performs printer-specific separation and output tasks such as white underbase control, ink limits, ICC color management, halftoning for the device, and printer communication. The two tools belong to different stages of the workflow.
Prepare One File Before You Prepare Fifty
The safest DTF workflow is size, inspect, remove the unwanted background, correct only fixable resolution problems, test special effects, and then build the gang sheet. Try the workflow in the DTF Design Editor, press one representative sample, and scale up only after it passes.
Sources
- Adobe Photoshop: Set image size and resolution, accessed July 15, 2026 — explains pixel dimensions, PPI, physical size, and resampling.
- Adobe Photoshop: Export settings and transparency, accessed July 15, 2026 — documents PNG transparency and proportional export sizing.
- Brother GTXpro support and DTF downloads, accessed July 15, 2026 — official manufacturer page containing the current GTXpro Variable Droplet DTF manual and related printer software.
DTF Build — Free DTF Gang Sheet Builder. Auto-nest designs, export print-ready files. No subscription needed.