Fix Low-Resolution Images for DTF Printing | DTFBuild
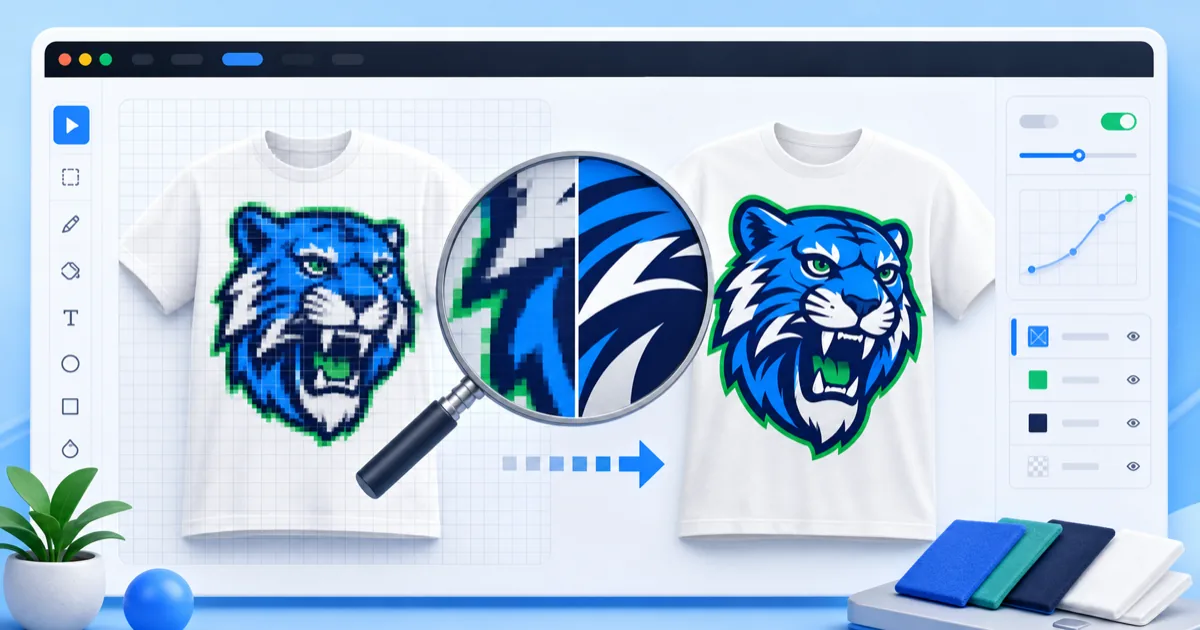
Quick Answer: Can You Fix a Low-Resolution Image for DTF Printing?
Sometimes. First compare the image's pixel dimensions with the intended print size. A suitable AI upscale can smooth and reconstruct moderate raster detail, but it cannot guarantee accurate letters, faces, logos, or details that never existed. Use the original vector file or rebuild critical artwork whenever accuracy matters more than visual approximation.
Calculate Whether the File Is Actually Too Small
Use this formula:
available PPI = pixel width ÷ print width in inches
A 1,200-pixel-wide logo placed at 4 inches provides 300 PPI. The same file placed at 12 inches provides only 100 PPI.
| Pixel width | At 4 in | At 10 in | At 12 in |
|---:|---:|---:|---:|
| 900 px | 225 PPI | 90 PPI | 75 PPI |
| 1,200 px | 300 PPI | 120 PPI | 100 PPI |
| 2,400 px | 600 PPI | 240 PPI | 200 PPI |
| 3,000 px | 750 PPI | 300 PPI | 250 PPI |
| 3,600 px | 900 PPI | 360 PPI | 300 PPI |
This table shows why “the file is 300 DPI” is incomplete. You need its pixel count and intended physical size.
Choose the Right Repair Method
| Artwork type | Best first choice | Why |
|---|---|---|
| Logo or typography | Obtain vector artwork or rebuild | Preserves exact shapes and letters |
| Flat-color illustration | Vectorize carefully or upscale and redraw edges | Hard contours reveal errors quickly |
| Photograph | Use the largest original; upscale moderately if needed | Raster detail is expected |
| AI-generated art | Re-render at higher resolution when possible | Avoids amplifying generation artifacts |
| Screenshot or social-media download | Find the original source | Compression and rescaling may already have removed detail |
Step-by-Step: Evaluate and Upscale DTF Artwork
Step 1: Confirm the Final Width
Ask where the design will be placed and how wide it should print. “Adult front” is not a measurement. Record a number such as 10 inches or 25.4 cm.
Step 2: Calculate the Current PPI
Divide the image width in pixels by the planned width in inches. If a 1,500-pixel file will print 10 inches wide, it supplies 150 PPI.
Step 3: Inspect the Source at 100%
Look for JPEG blocks, ringing around letters, mushy facial features, stair-stepped curves, and an existing pale background halo. Upscaling can enlarge these defects, so clean or replace the source first.
Step 4: Remove an Unwanted Background
For simple solid backgrounds, use the DTF background-removal workflow. Removing contamination before enlargement helps prevent a thin halo from becoming a larger halo.
Step 5: Make One Controlled Upscale
Open the DTF Design Editor, enable Upscale Design, and process a copy. The editor attempts a 4× client-side upscale and preserves the existing transparency mask. If the AI model cannot run, it uses progressive browser scaling and sharpening as a fallback.
Step 6: Compare Meaning, Not Just Sharpness
Check every letter, number, face, hand, logo mark, and product-specific detail against the original. A sharper wrong letter is still wrong artwork. Reject the result when semantic details change.
Step 7: Print at Final Size
Place the original and repaired versions on one labeled test strip. Review both after the complete print, powder, cure, press, and wash workflow. A monitor comparison alone cannot predict the finished transfer.
What AI Upscaling Can and Cannot Do
AI upscaling can often improve perceived edge continuity, reduce obvious pixelation, and infer plausible texture. It cannot recover a customer's exact missing brushstroke or guarantee the true shape of tiny text.
Use it when:
- The enlargement is moderate
- The image is photographic or illustrative
- Minor inferred detail is acceptable
- The source is not badly compressed
- You can approve a physical sample
Rebuild or request a better file when:
- A trademark or logo must be exact
- Text is already unreadable
- Facial identity matters
- Fine line art is broken
- The only source is a thumbnail
- The job is large enough that one failed sheet is costly
Avoid These Resolution Mistakes
Changing 72 DPI to 300 DPI without resampling
This changes metadata, not detail. A 1,000 × 1,000 px file still contains 1 million pixels.
Stretching the width without locking aspect ratio
Unequal scaling distorts circles, logos, and faces. Keep the original aspect ratio unless distortion is intentional.
Upscaling multiple times
Repeated processing can invent more artifacts and oversharpen edges. Return to the untouched source and create one output at the required size.
Confusing vectorization with upscaling
Upscaling creates a larger raster image. Vectorization creates paths. Automatic vectorization can work for simple flat art but may create thousands of noisy points in photographs or textured designs.
Frequently Asked Questions
How many pixels do I need for a 12-inch DTF print?
At a planning target of 300 PPI, a 12-inch-wide print needs 3,600 pixels across. At 200 PPI it needs 2,400 pixels. Ask the printer which resolution is acceptable for the artwork type and device before choosing a lower target.
Is 150 DPI enough for DTF printing?
It may be acceptable for some large, soft-detail artwork viewed from a distance, but it is not a universal safe target. Fine text, hard-edged logos, and small details usually reveal resolution limits sooner. Compare a physical sample with the printer's recommended 300-PPI workflow.
Does AI upscaling create real detail?
It creates plausible reconstructed detail based on patterns learned by the model. That can look better, but it is not the same as recovering the original information. Verify names, letters, faces, hands, and brand marks against an authoritative source.
Should I upscale before or after removing the background?
For a simple unwanted background, remove and clean it first so edge contamination is not enlarged. Preserve the untouched source, confirm the alpha edge on contrasting colors, and then upscale one clean copy to the required pixel dimensions.
Is a vector always better for DTF?
A vector is excellent for logos, text, and flat shapes because it scales mathematically. Photographs, painterly art, and textured illustrations are naturally raster content. The best format is the one that preserves the intended detail and fits the printer's accepted workflow.
Use the Smallest Intervention That Solves the Problem
Calculate first, then choose the repair. If the file already has enough pixels, do not upscale it. If accuracy-critical detail is missing, rebuild it. When a moderate enlargement is appropriate, make one controlled copy in the DTF Design Editor and approve a real test before production.
Sources
- Adobe Photoshop: How resizing affects resolution and pixel dimensions, accessed July 15, 2026 — explains why physical size, PPI, pixel dimensions, and resampling are different.
- Real-ESRGAN: Training Real-World Blind Super-Resolution with Pure Synthetic Data, accessed July 15, 2026 — original research describing Real-ESRGAN restoration and its treatment of real-world degradation artifacts.
- Brother GTXpro support and DTF downloads, accessed July 15, 2026 — official manufacturer page containing the current GTXpro Variable Droplet DTF manual and related printer software.
DTF Build — Free DTF Gang Sheet Builder. Auto-nest designs, export print-ready files. No subscription needed.