Remove Background for DTF Printing Without Halos | DTFBuild
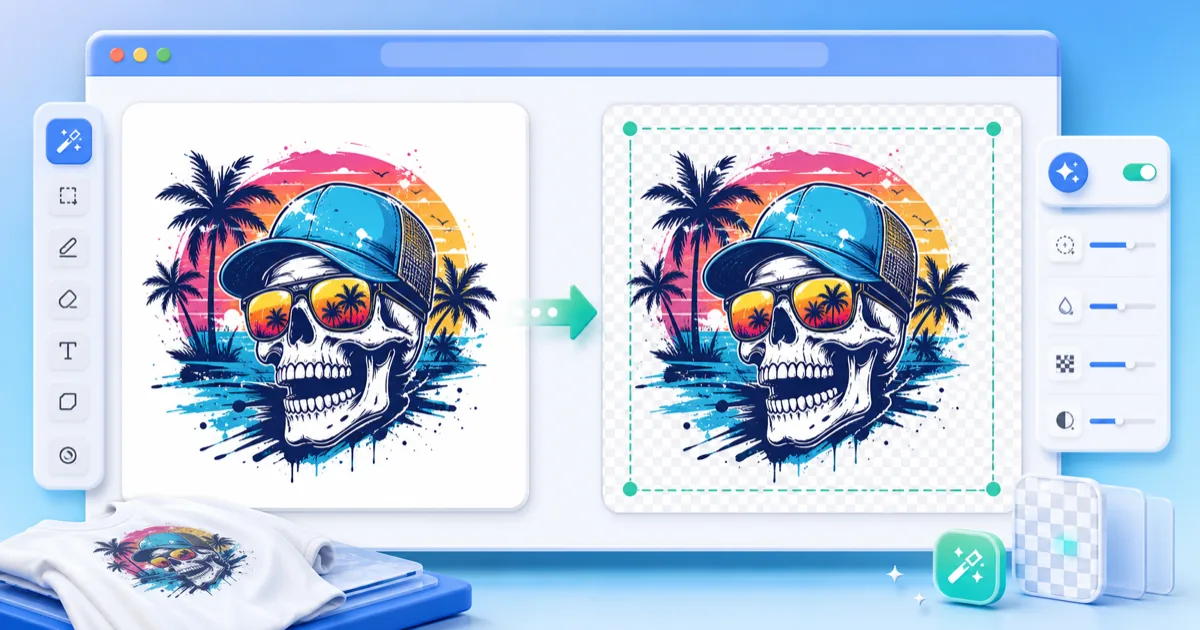
Quick Answer: How Do You Remove a Background for DTF Printing?
Remove the unwanted background, preserve the design's alpha transparency, inspect the edge over both light and dark colors, and export as a transparent PNG. For a simple solid background, use contiguous removal from the image corners so matching colors inside closed shapes are less likely to disappear. Always test-print difficult edges before production.
Why a White Background Can Become a White Box
A JPEG does not support transparency. If a customer sends a logo on a white JPEG canvas, that white area is still part of the image. In a DTF workflow, the RIP may create a white underbase beneath it, producing a rectangle around the design.
Transparency is stored as an alpha channel. A fully transparent pixel has 0% opacity; a fully visible pixel has 100% opacity. Soft edges contain values between those extremes, which is why a careless removal can leave a pale halo or a jagged cutout.
Contiguous vs. Global Background Removal
| Mode | What it removes | Best for | Main risk |
|---|---|---|---|
| Contiguous | Connected background reached from the outer corners | Logos with a solid outer background | Enclosed background pockets may remain |
| Global/non-contiguous | Similar color everywhere in the file | Simple art where the target color is nowhere in the design | Can erase white letters, eyes, highlights, or internal shapes |
| Detailed mask | A hand- or AI-refined subject edge | Hair, smoke, fur, shadows, photography | More time and manual checking |
Consider a white letter “O” on a red background. Global white removal could erase the letter. Contiguous corner removal targets the connected outer background while protecting white inside a closed red boundary.
Step-by-Step: Remove a Solid Background in DTFBuild
Step 1: Open the DTF Design Editor
Go to the DTF Design Editor and upload the PNG, JPG, or WebP artwork. Processing runs in the browser, so you can preview the file before sending it to the gang sheet builder.
Step 2: Select Remove Background
Choose Remove Background. For an outer solid color, enable Contiguous (Flood-fill from corners). Use global removal only when you are sure the target background color is not required anywhere inside the artwork.
Step 3: Process and Check the Crop
The editor removes the selected background region, cleans the edge, and crops empty margins. Check that no letters, highlights, or enclosed areas disappeared.
Step 4: Preview on Four Backgrounds
Inspect the result on:
1. The checkerboard transparency view
2. White
3. Mid-gray
4. Black or the target shirt color
A light fringe is easier to see on black; dark contamination is easier to see on white. Check at 100% zoom and at the final physical size.
Step 5: Download PNG or Send to the Gang Sheet
Download the transparent PNG or send it directly to the DTF gang sheet builder. Do not convert it back to JPEG, because that will flatten the transparent area again.
How to Prevent White Halos
White halos usually come from anti-aliased edge pixels that blended with the original white background. They are partly transparent but still contain pale RGB values.
Use this order of operations:
- Remove the background before enlarging the image.
- Inspect semi-transparent edges over black.
- Use edge cleanup or decontamination sparingly.
- Avoid repeatedly saving as JPEG.
- Keep a copy of the untouched source.
- Make a small test transfer when the design contains glow, smoke, or soft shadows.
When an Automatic Background Remover Is the Wrong Tool
Do not trust one-click solid-color removal for every image. Use a detailed mask or request better source artwork when the file contains hair, fur, translucent fabric, smoke, glass, heavy motion blur, or a background color repeated throughout the subject.
Also pause when the source is tiny. A 400-pixel logo enlarged to 12 inches will not become production-ready simply because its background is transparent. Use the low-resolution DTF image guide to calculate whether the file has enough pixels.
Transparent PNG Preflight Checklist
- [ ] The background is transparent, not painted white.
- [ ] Required white elements are still visible.
- [ ] Enclosed counters in letters such as A, B, O, P, and R are correct.
- [ ] No pale or dark halo appears on contrasting previews.
- [ ] Soft shadows look intentional.
- [ ] The final pixel dimensions match the print size.
- [ ] The exported file remains PNG.
- [ ] One sample has been checked in the actual RIP and press workflow.
Frequently Asked Questions
Does DTF artwork need a transparent background?
It needs transparency wherever you do not want ink or an underbase. A full rectangular photo may intentionally keep its background, while an isolated logo usually needs transparent outer pixels. The correct answer depends on the intended design, not a rule that every DTF file must be cut out.
Why is my transparent image printing with a white background?
The file may have been flattened, exported as JPEG, placed on a white canvas, or interpreted incorrectly in the RIP. Reopen the exported file on a checkerboard, confirm it has an alpha channel, and inspect the RIP's white-underbase preview before printing another sheet.
Should I remove all white from a DTF design?
No. White may be an intentional part of the artwork. Remove only the unwanted background. Use contiguous corner removal when the outer background is white but the subject also contains white lettering, highlights, eyes, or other required details.
Is PNG better than JPEG for DTF?
PNG is better when transparency or repeated lossless editing is required. JPEG can be acceptable for a fully rectangular photograph if the printer accepts it, but it cannot preserve transparent pixels and repeated saves can create compression artifacts around text and edges.
Can I remove a background after upscaling?
You can, but removing it first often prevents the upscaler from enlarging background contamination and pale edge pixels. Keep the original, remove and inspect the background, then upscale the clean result only if its resolution is insufficient for the planned print size.
Make the Edge Pass Before Building the Sheet
A clean transparent PNG is about controlled edges, not merely seeing a checkerboard. Remove the background in the DTF Design Editor, preview it on contrasting colors, and send it to the builder only after the required white details and soft edges survive.
Sources
- Adobe Photoshop: Export settings and PNG transparency, accessed July 15, 2026 — documents transparent PNG export and JPEG quality behavior.
- Adobe Photoshop: Change transparency preferences, accessed July 15, 2026 — explains the checkerboard display used to inspect transparent pixels.
- Brother GTXpro support and DTF downloads, accessed July 15, 2026 — official manufacturer page containing the current GTXpro Variable Droplet DTF manual and related printer software.
DTF Build — Free DTF Gang Sheet Builder. Auto-nest designs, export print-ready files. No subscription needed.